The Complete Guide to Nail Extensions: What They Are, How They Work, and Why They’re So Popular
I remember the first time I tried nail extensions. My natural nails were short, brittle, and refused to grow past my fingertips. After years of trying every strengthener and supplement, I decided to try extensions. The transformation was immediate—not just in length, but in how my hands looked and how I felt about them. That experience sparked my interest in the art and science of nail extensions.
Here is everything I have learned about nail extensions, from what they are to how they are applied and why they are so beneficial.
What Are Nail Extensions?
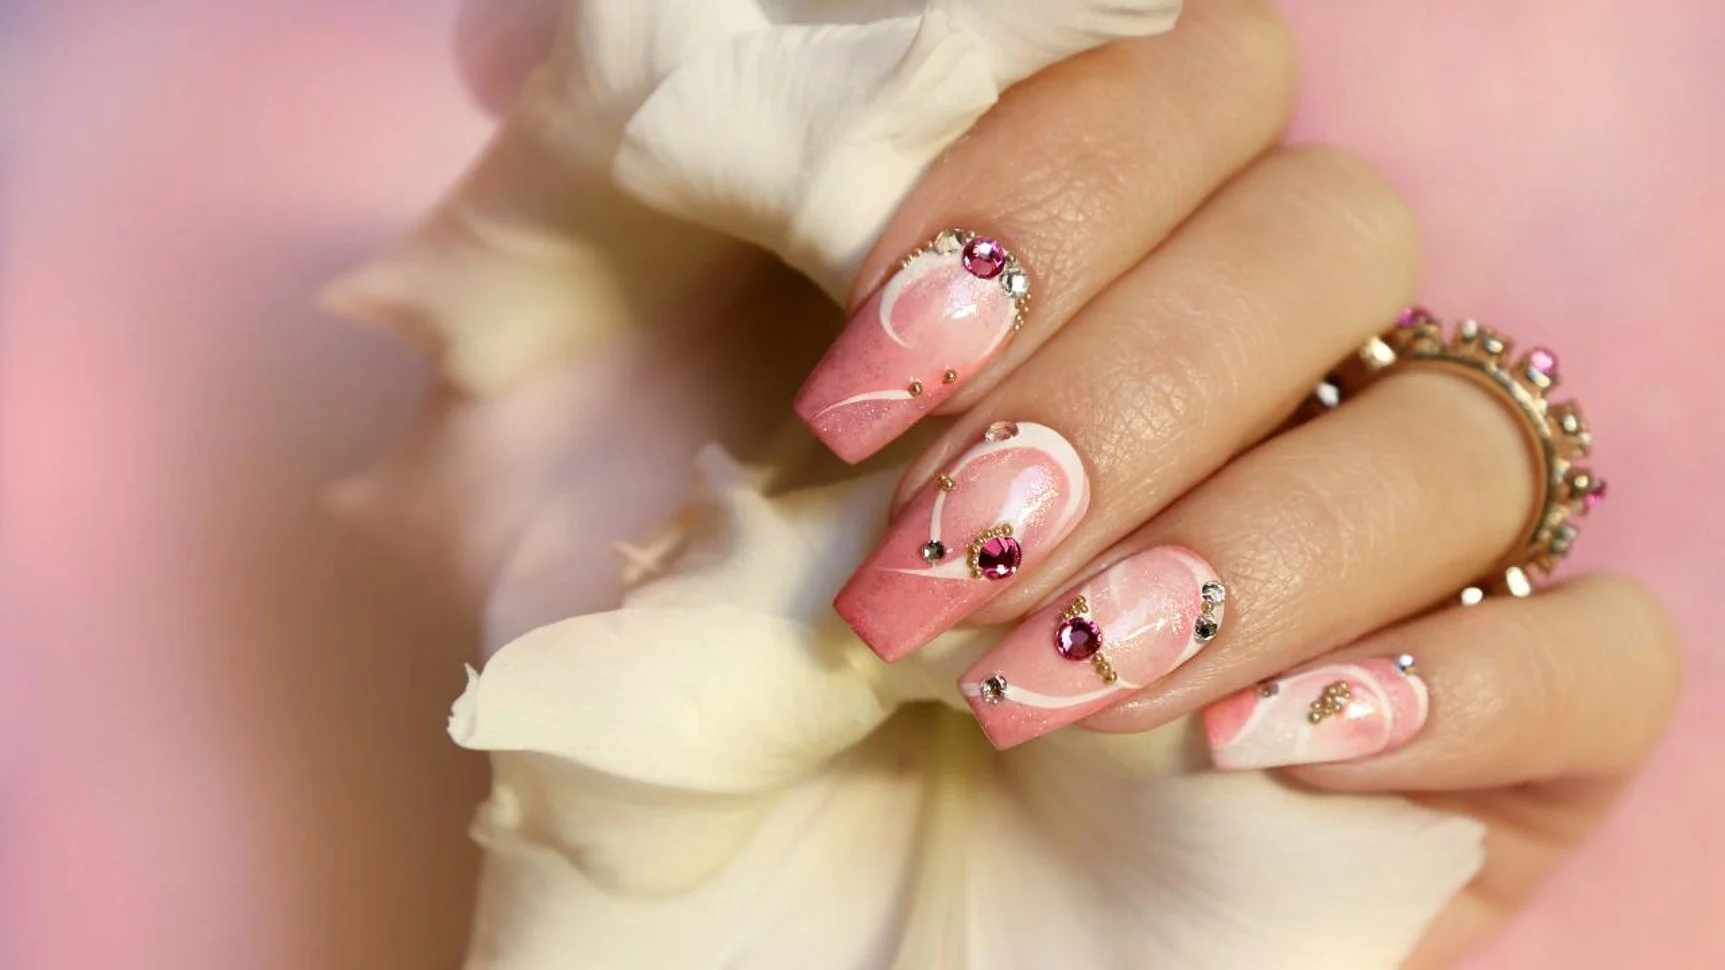
Nail extensions are artificial enhancements added to the natural nail to create length, shape, and strength beyond what the natural nail can support. They are applied over the natural nail or over tips (pre-formed plastic shapes glued to the free edge) and are sculpted to create a seamless, natural-looking extension.
Unlike simple polish or gel overlays, which add colour and shine but no significant length, extensions fundamentally change the shape and length of the nail. They are the go-to for people who want dramatic length, a specific shape, or a solution for nails that are short, weak, or damaged.
The Main Extension Techniques
There are several ways to extend the length of your nails, each with its own advantages and considerations.
Acrylic extensions are the classic and most durable option. They are formed by mixing a liquid monomer with a powder polymer to create a bead that is sculpted onto the nail or over a tip. The mixture hardens in air within minutes. Acrylic extensions are extremely strong, long-lasting, and can be repaired easily. They are ideal for dramatic length and shape (stiletto, coffin) and for clients with very weak nails. They require regular fills every 2-3 weeks and have a strong odor during application.
Hard gel extensions are formed by applying a pre-mixed gel that is sculpted onto the nail and cured under a UV/LED lamp. Hard gel is rigid and durable, making it ideal for extensions. It has a natural, glossy appearance and is odor-free. Hard gel cannot be soaked off; it must be filed off. It requires a lamp for curing and is more flexible than acrylic, reducing the risk of breakage.
Polygel extensions are a hybrid of acrylic and gel. Polygel is a thick, putty-like material that combines the strength of acrylic with the flexibility of gel. It cures under a lamp and is easier to shape than traditional builder gel. It is lightweight, odor-free, and beginner-friendly. It can be soaked off with acetone.
Builder gel overlays are a softer alternative. Builder gel is applied over the natural nail to add strength and a slight length (1-2mm). It is not a full extension but rather a reinforcement that helps natural nails grow while protecting them. It is cured under a lamp and can be soaked off. It is ideal for people who want to grow their natural nails and for those with very weak nails.
How to Successfully Apply Nail Extensions
The key to a successful extension is proper preparation and technique. Here is the general process for applying extensions.
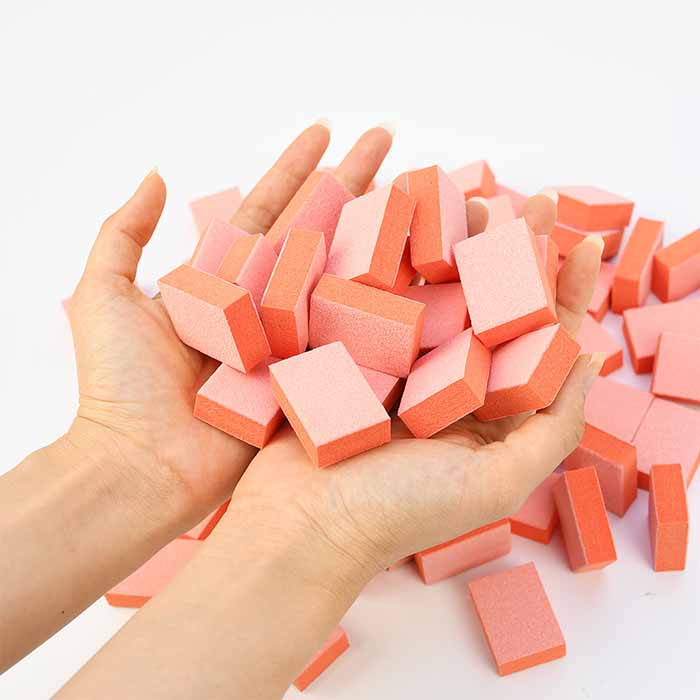
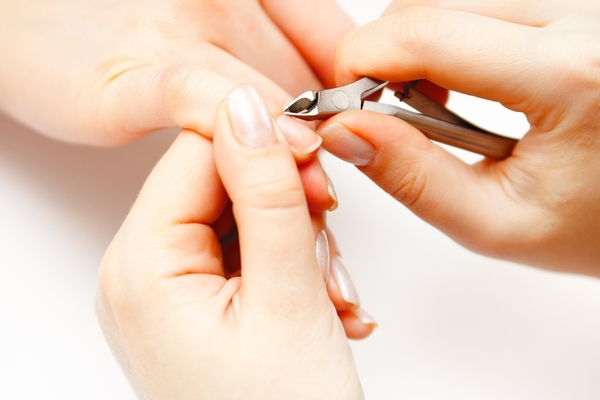
Step 1: Prep your natural nails thoroughly. Remove old polish. Shape your nails and gently push back cuticles. Lightly buff the nail surface with a buffer block—this creates a rough texture for the extension to grip. Wipe each nail with a dehydrator or rubbing alcohol to remove oils and dust.
Step 2: Apply forms or tips. If you are using tips, choose tips that match the width of your natural nails and glue them on. If you are using forms, slide the form under the free edge, aligning it with the natural curve of your nail.
Step 3: Apply the extension product. For acrylic, mix liquid and powder to form a bead and sculpt it onto the nail or tip. For hard gel or polygel, apply the product to the form or tip and shape it. For builder gel, apply a layer over the natural nail to add strength.
Step 4: Cure or harden. If using gel or polygel, cure under the lamp. If using acrylic, allow it to harden in air.
Step 5: File and shape. Use a nail file to refine the shape, smooth the surface, and create the desired silhouette.
Step 6: Apply colour or top coat. Finish with gel polish or a high-gloss top coat.
The Benefits of Nail Extensions
Length beyond natural limits. The most obvious benefit is the ability to achieve length that your natural nails cannot support. This is especially valuable for people who have never been able to grow long nails.
Strength and durability. Extensions add a protective layer to the natural nail, reducing breakage and peeling. This is particularly beneficial for people with weak or brittle nails.
Correcting uneven nails. Extensions can correct nail shape, disguise imperfections, and create a uniform, polished appearance. They are ideal for nails that are crooked, damaged, or uneven.
A blank canvas for creativity. Extensions provide a larger, stronger canvas for nail art and design. Intricate patterns, bold colours, and complex designs are easier to achieve on extensions.
Nail growth support. Extensions can protect the natural nail while it grows, preventing breakage and allowing the natural nail to reach a healthier length.
Confidence boost. Beautiful, well-shaped nails can significantly boost confidence, especially for people who have always been self-conscious about their hands.
The Bottom Line
Nail extensions are a versatile, durable, and creative way to transform your nails. Whether you want dramatic length, strength, or a flawless canvas for nail art, extensions offer a solution. The key is choosing the right technique for your needs—acrylic for maximum strength, gel for a natural look, polygel for a beginner-friendly hybrid, or builder gel for gentle support. With proper application and maintenance, extensions can help you achieve the nails you’ve always wanted without compromising the health of your natural nails.
Read also: Cuticle Care: How to Treat Them Right


One thought on “The Complete Guide to Nail Extensions: What They Are, How They Work, and Why They’re So Popular”